Why do I need screenshots?
When you make an app your job is half over – now that you have an app, people need to get excited about it! That means putting it on the app store in an appealing way, making a landing page for your app, and even putting ads on social media. All these could use some attractive screenshots. You can grab screenshots the right size straight from the emulator.

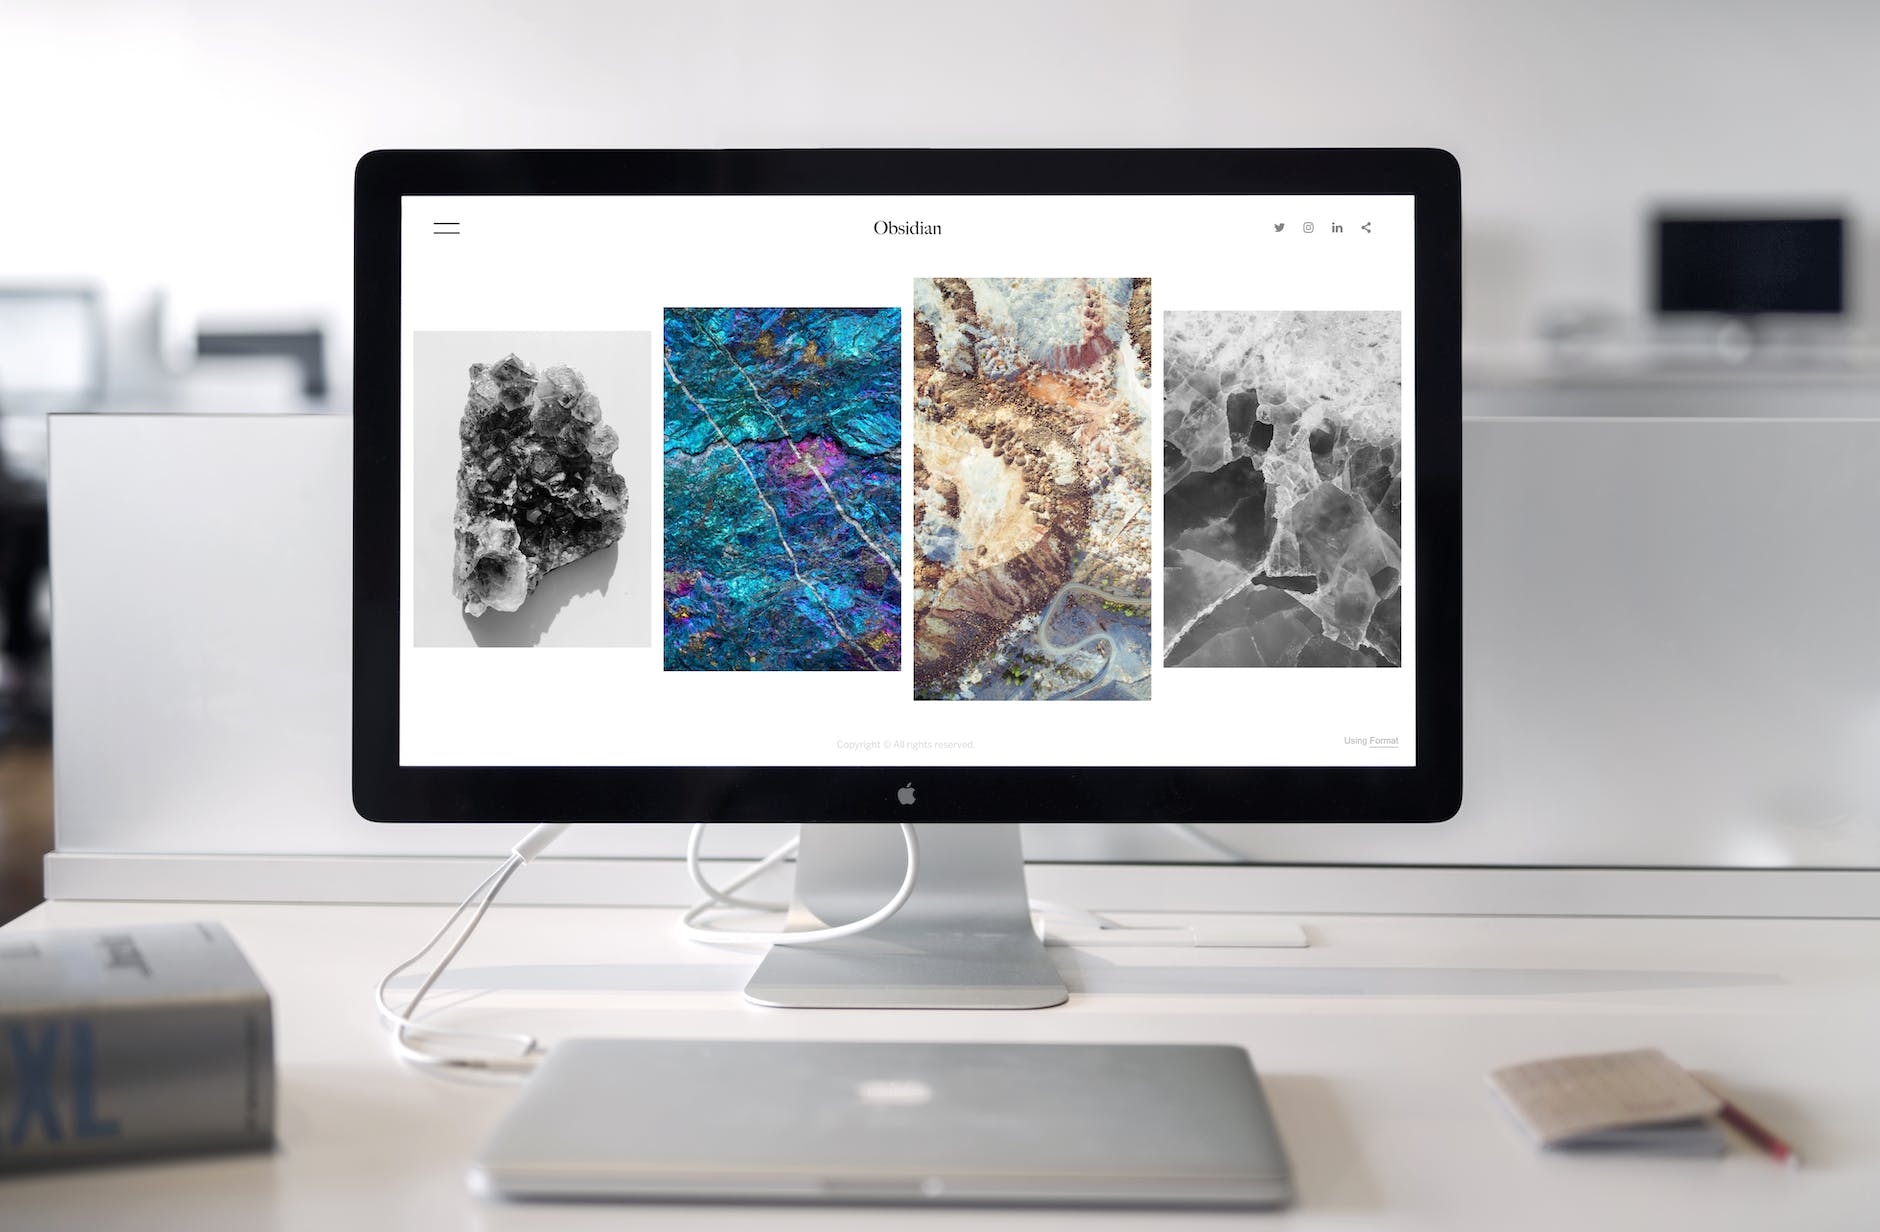
Not too bad in some ways, it does show the screens. But compare with this:

You’re really taking advantage of your screen time to tell your user what they’re getting when they download the app and why they should bother. Research shows that this kind of screenshot dramatically increases installation of apps.
There are multiple ways of doing this. If you have a method you feel comfortable with, of course stick to it. We wanted to provide a couple of alternatives that you could use depending on your comfort level.
- AppScreens – https://appscreens.com
- App Institute – https://appinstitute.com/app-screenshot-maker/
- AppLaunchPad – https://theapplaunchpad.com
These are paid services with free tiers. This might be the best way to start out.
Another alternative is to make your own with a free open source program called Gimp. It is a very powerful and so not very simple app, but there is plenty of free documentation and tutorials.
To grab the templates you’ll need for the app stores, click the download icon here.
We’ll be aiming at creating colorful screenshots like the ones above. We’ll start with Android. Important to keep in mind that the screenshots for the Google Play Store must be 16:9 aspect ratio. The template file is in that ratio so should serve well. Just remember not to resize the image out of that ratio.
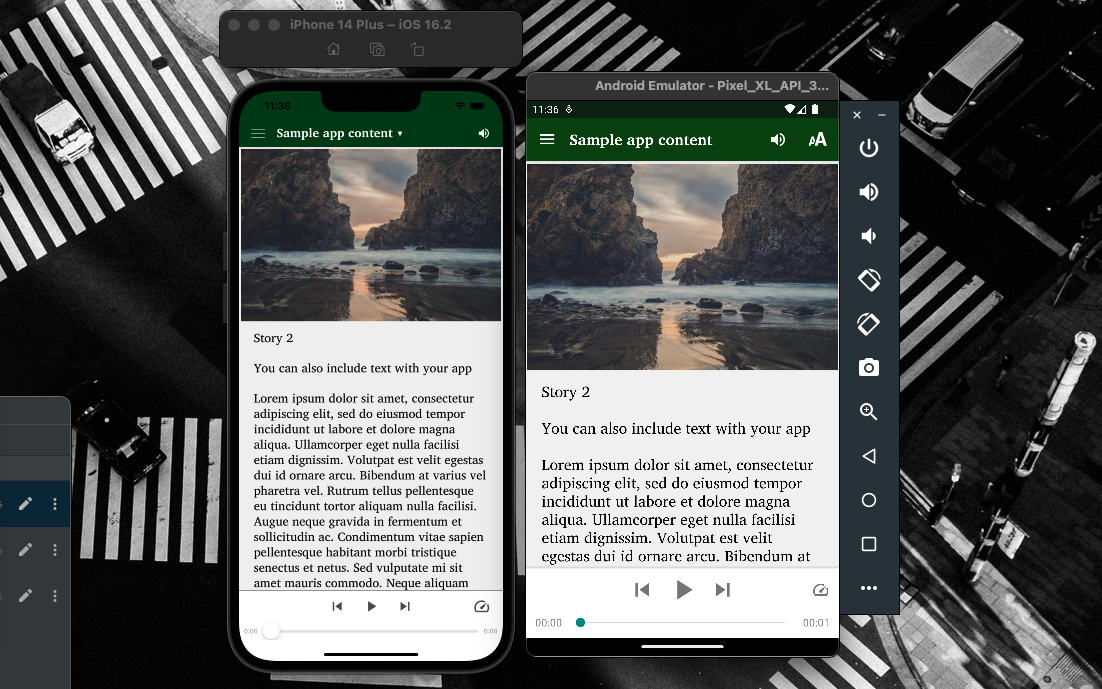
First step is to get your screenshots. In this tutorial I’ll be using the screen for a Pixel 6 phone. In your emulator, go in and make a new virtual device or use your existing one.

Load your app, and get some good shots of your app. The Android emulator is at the right, iOS simulator at left, and both have the screenshot button circled for reference.

Open your first screenshot in Gimp. The first thing you will do is give your screenshot rounded edges.
In the menu bar click on Filters, then Decor, then Round Corners. In the dialog box that comes up, make the radius 100, add drop shadow or not as you like, but clear the Add Background option. If you leave Work on copy option checked, it will make a new untitled Gimp file for you.

Now you’ll have your screenshot with rounded corners. Save it by going to File, Export As… and choosing a good location. Save as png.

Open the Android or iPhone 6.7.xcf template from the zip file you downloaded earlier. Once there you can hide the existing template screenshot by clicking the eye next to the screenshot in the layers panel at the bottom right. It’s still there, just hidden. Try clicking on that eye to hide it and then reveal it again. Hide it when you are ready.
Now load your screenshot into the file like this: Click File, then Open As Layers to insert your app’s screenshot as a layer. Find it in the layers panel at the bottom right. (Or if you feel comfortable doing it, you can add it by just dragging your rounded corner screenshot file from your file manager straight into the Layers panel, and drop it above the Background layer. If it comes up behind (below) the Background, just click and drag it up above Background.)

Now click on the background layer at right and change the color with the paintcan tool.
First click on the color selector and choose a new background color.
Now click on the paintcan tool and click in the yellow area to change the color.

Now it’s time to add the text. Make a new layer by clicking on the new layer button at bottom right. Make sure the last option at the bottom is Fill with: Transparency.

Click on the screenshot layer and the move tool (top left tool) and move the image down.
Then click on the text tool (the “A”) in the tool panel and draw a rectangle above the screenshot.
Choose your font, font size, text color, etc. at the left. The font I have here is Avenir Heavy.
There are some more text tools in the bottom left panel – I’ve clicked on center text here, circled in red.

You can make multiple screenshots in the same file by using layers. Here I’ve added another color background by duplicating a layer (right click on the layer you want to duplicate in the layers panel and click Duplicate Layer), and I’m about to duplicate it again to get a third background color. I can hide and show those backgrounds as I like to show those colors on different shots without having to change the color repeatedly.
You can also duplicate and show/hide layers with the rounded corner screenshots as well as the titles to put many shots into one file.

Note that Gimp’s file extension is xcf, and to use the final product you have to Export As, not Save As png.
To take your screenshots to the App Stores or the web, click on File, Export As… and export as png. In Gimp to specify what format you want, just put it in the filename – so export as yourfilename.png.
Keep going with your other screenshots til you have what you need.

The Google Play Store also requires tablets, but the 10-inch shots can work for both 7 and 10 inch requirements. Go back into the Virtual Device Manager in Android Studio and make a new virtual devices by clicking Create Device, then choosing Tablet at the left, and then New Hardware Profile. In the box that comes up give it a name like My 10 inch tablet, and define it as 10 inches and with resolution of 1080 x 1920. Click Finish. That creates the hardware profile – keep going by selecting the system image and finishing up.

Now repeat the process that you followed above to create screenshots for the phone with tablets – use the tablet template in the zip file you downloaded earlier.
Screenshots for iOS
The specifications for Apple App Store screenshots are a bit different in the dimensions. Android’s requirements are a range:
Screenshots must be PNG or JPEG, up to 8 MB each, 16:9 or 9:16 aspect ratio, with each side between 320 px and 3,840 px.
and for 7 and 10 inch tablets:
Screenshots must be PNG or JPEG, up to 8 MB each, 16:9 or 9:16 aspect ratio, with each side between 1,080 px and 7,680 px
For iOS, the requirement is specific pixel dimension. You need:
1290 x 2796 pixels 6.7 inch phone
1242 x 2208 pixels 5.5 inch phone
2048 x 2732 pixels 12.9 inch iPad
As of this writing in late 2023, the file included in the screenshot teamplate zip file will work for both Android and the 6.7 inch iPhone. The tablet template will work for both the 7 and 10 inch Android tablets as well as both required sizes of iPad.
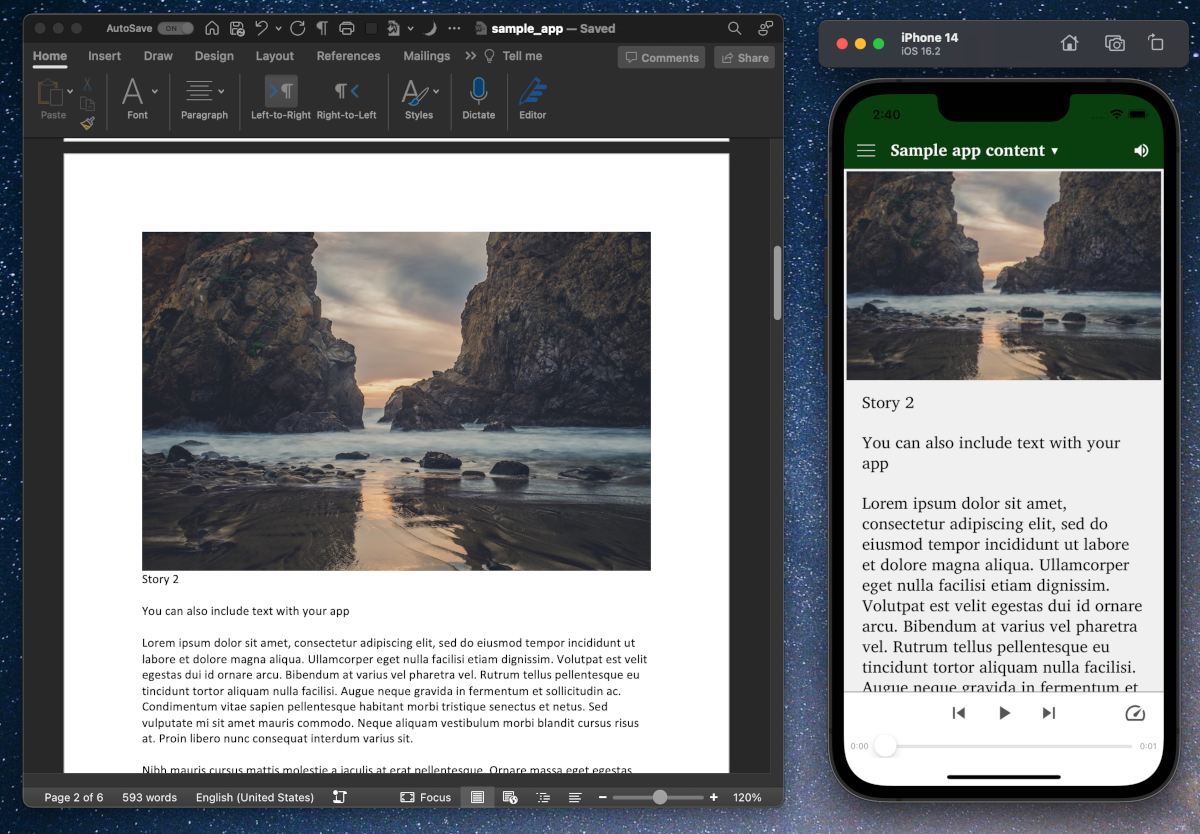
Grab a screenshot of your app in an iPhone 14 simulator and use the same method as above – remember to do the rounded corners step.
You can re-use the same screenshot and the same dimension scaling in the 5.5 inch iPhone template file.
The iPad Pro 11 inch screenshot is just the right size. The rounded corners at 100 is too much though, when you do rounded corners make the radius 40.
Wrapping up
Although it can be a tedious job to produce these in any workflow, screenshots are a great way to communicate to potential users how awesome your app is! With time you will get a process that works for you and be communicating effectively with your audience and watching your install base grow.